
If you aren’t familiar with the concept of a gallery wall, you’re in luck. We’re about to break it down for you and share designer tips to get you started.
When you walk into a room and appreciate an organized and well laid-out wall of art or photographs, you’re probably looking at a gallery wall. Decorators coined the term gallery wall to describe how your art or photos are displayed on a wall. Gone are the days of having only a solo large piece in the middle of a large, empty wall. Today, everyone is encouraged to use their walls to showcase what they love most.
Who Are Gallery Walls For?
Simply put, they’re for everyone. They are essentially a great way to use wall space when you have a room with a large amount of space. When you find yourself unable to decide what to do with the empty wall, decorating it the gallery way is a great way to go.
The big idea behind gallery walls is to invite as much as you’d like to display. You won’t need to worry about cluttering your wall, either. With the right tips, you can create a stylish display for you and your guests to enjoy.
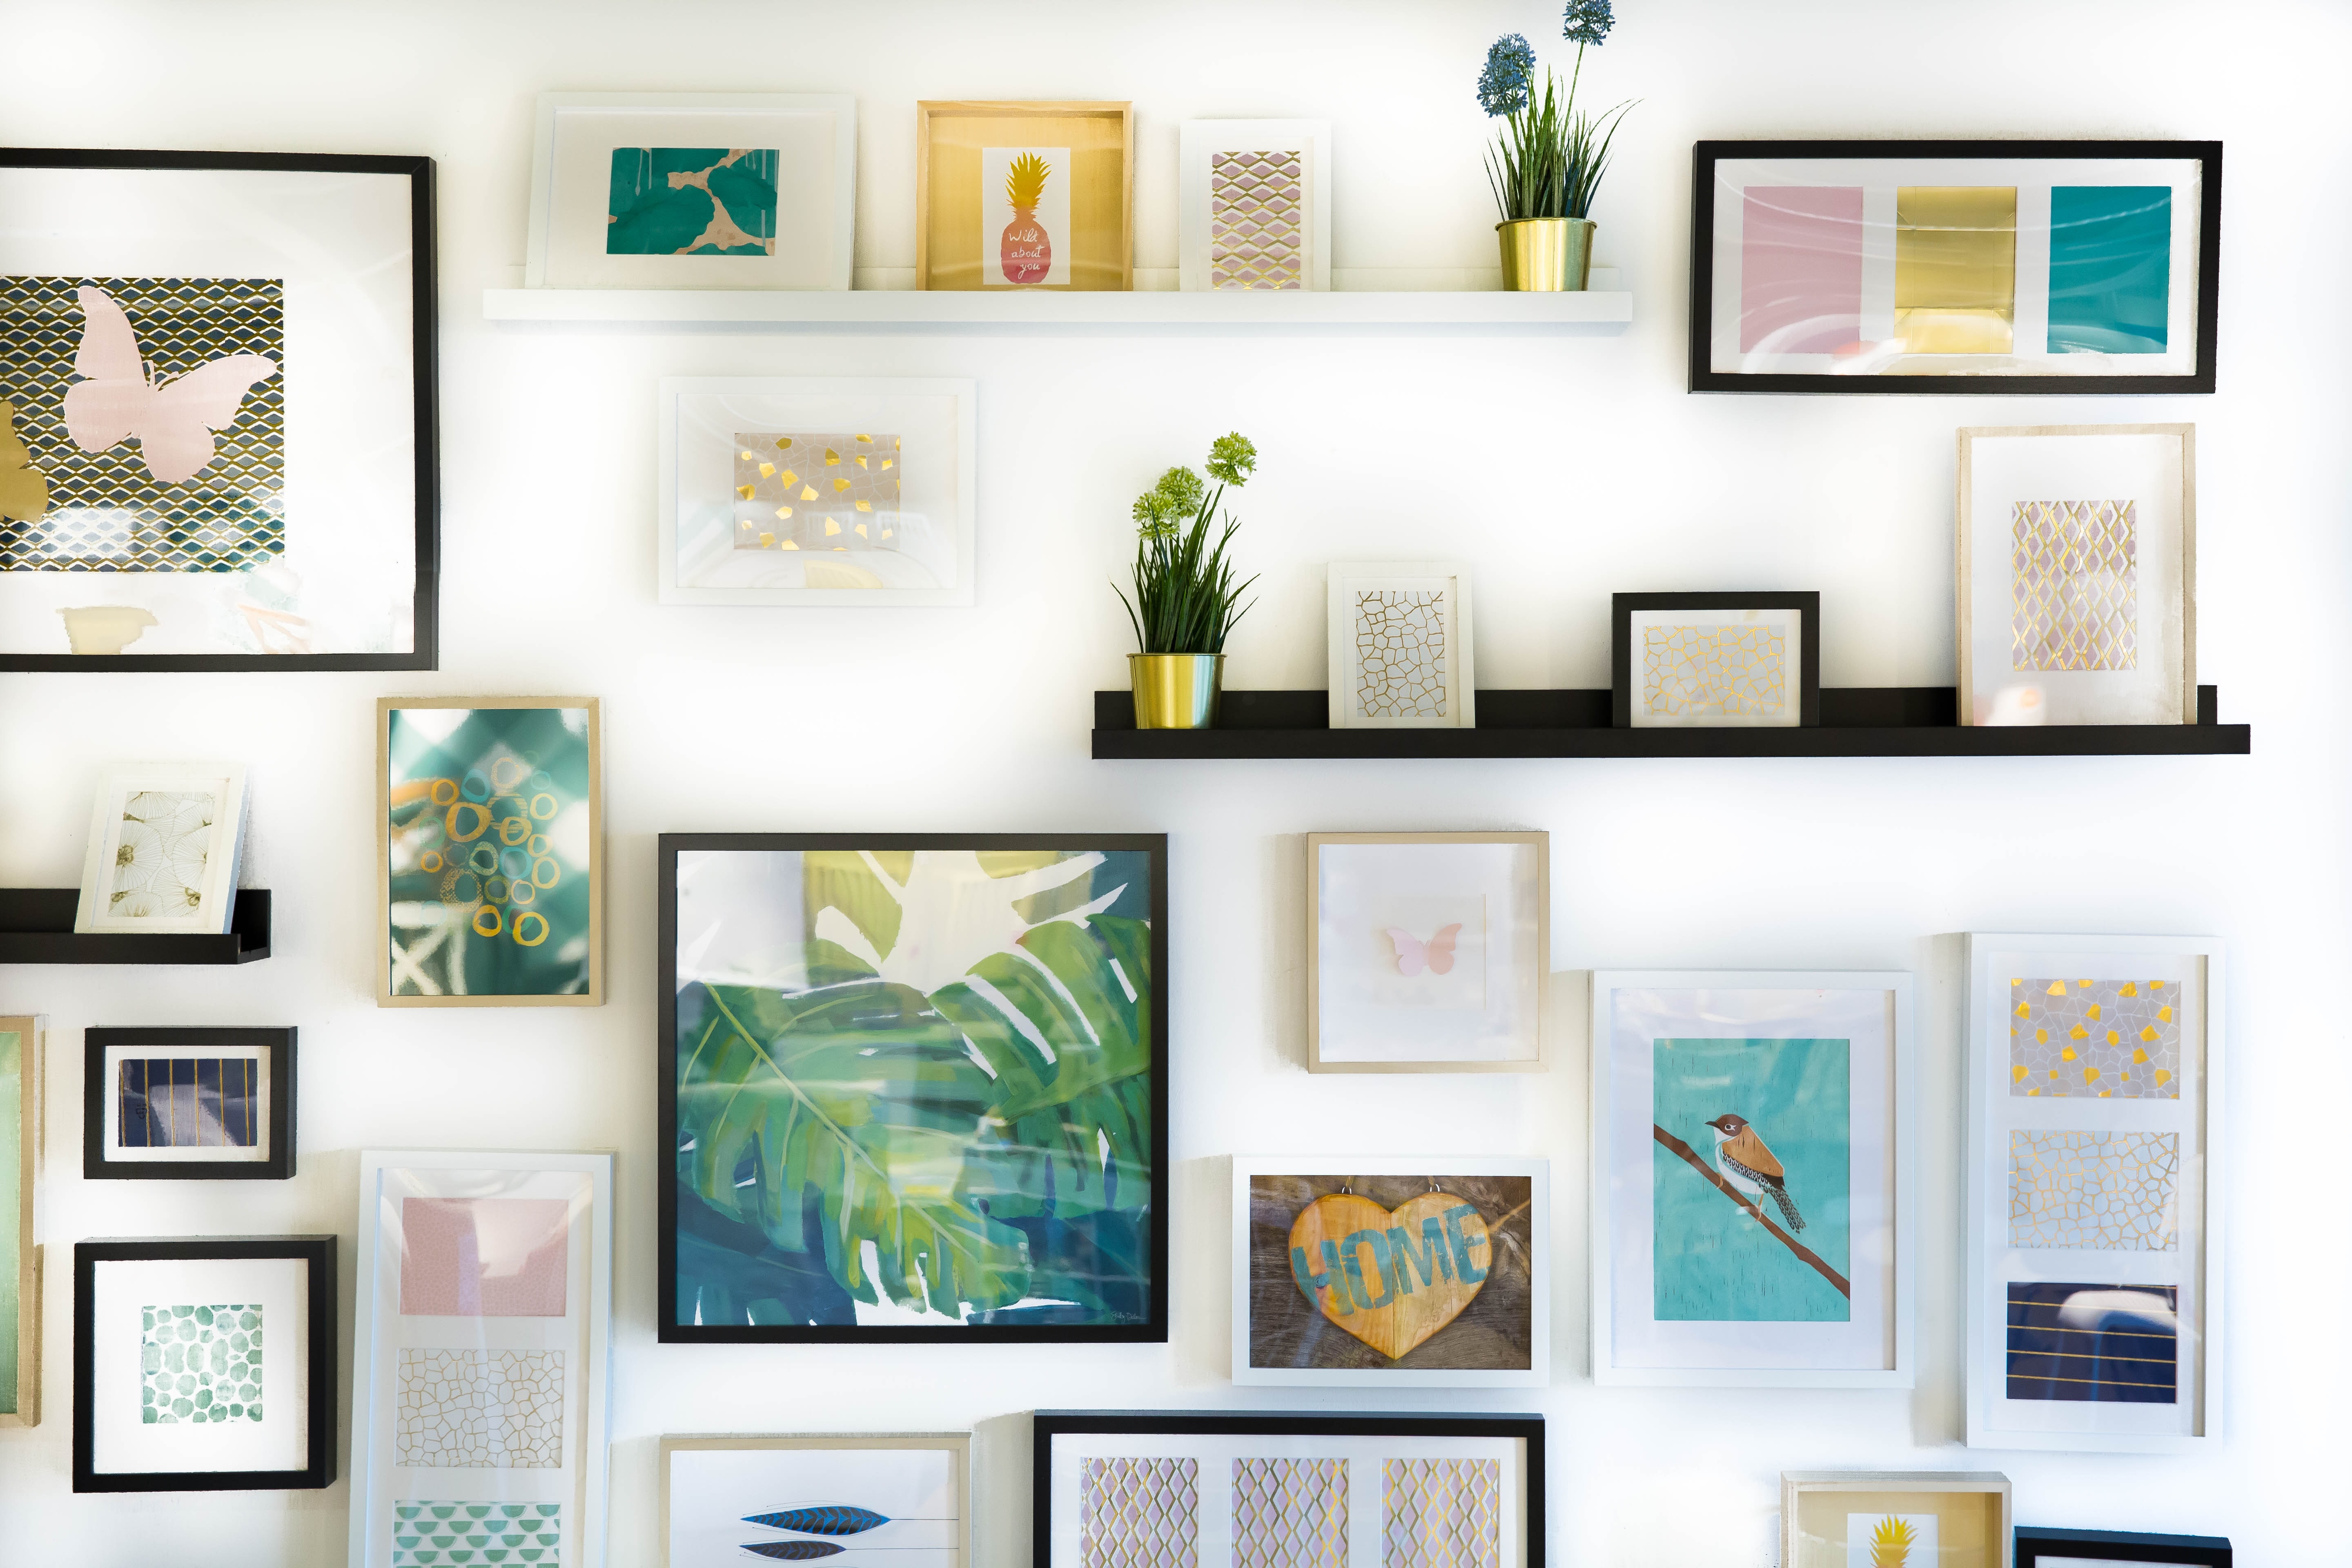
Choosing Frames
You’ve arrived at your first styling crossroad. When choosing frames, you can either choose a set of matching frames or opt for mismatched ones. The good news is, there is no wrong answer. Matching frames will tend to give off a minimalist or classic aesthetic. Meanwhile, mismatched frames will look eclectic and can add extra variety to your wall.

Layout Basics
You may have noticed the differences between some gallery walls. Some look organized with clean lines, and others seem to be free-flowing. Which style you prefer will be up to you, and both have their pros. If you’d like your gallery wall to be organized like a grid, you’ll be doing a little more measuring. If you’re looking for a less rigid look, you’ll simply want to start by hanging your largest piece at the centre and working your way outwards while varying the sizes of your other artwork. Stylecaster has an array of templates to follow for your art and photos.
Choose Colours Wisely
We’re not saying to choose one colour, but we are saying to keep it in the colour family. You can go as small as monochromatic, choosing one colour paired with either black or white. Or expand to the colours of the rainbow, but try to stay within a range. One place to start is to ask yourself if you’re aiming for warm (reds, yellows, oranges) or cool (blues, violets, silvers) colours.
Variety is Your Friend
So far, we haven’t differentiated between hanging up art or photographs. And it’s for a good reason because there are no steadfast rules on styling with either. It’s true, you can choose to decorate with only photographs or only artwork, but don’t be afraid to mix and match them. If you notice that your gallery wall is coming off somewhat flat, you’ll need to add some variety. In some cases, it may mean adding a pop of colour or mixing up your frames. But sometimes, it will mean adding some texture to your wall. Among your artwork and photos, you can hang up pieces like hanging wall-plants, add sconce lighting, or some tapestry accents.

Lay it All Out
Before you polka-dot, your wall with holes, make a game plan. Gallery walls tend to have many components, so you won’t want to nail your artwork to your wall over and over. The simplest way to test out your layout is to set it down on the floor. If you prefer to see it on the wall before you commit, try double-sided tape that won’t leave a mark on your paint. When you’ve finalized your design, use a pencil to dot when your nails go.
Show it Off
Above all, have some fun setting up your gallery wall. The most exciting part of your artwork or photographs will be the choices you made in picking them or how they came into your life. Gallery walls are simply a tool to help you showcase the memories or passions you love most. With these tips, your wall is sure to be picture perfect.